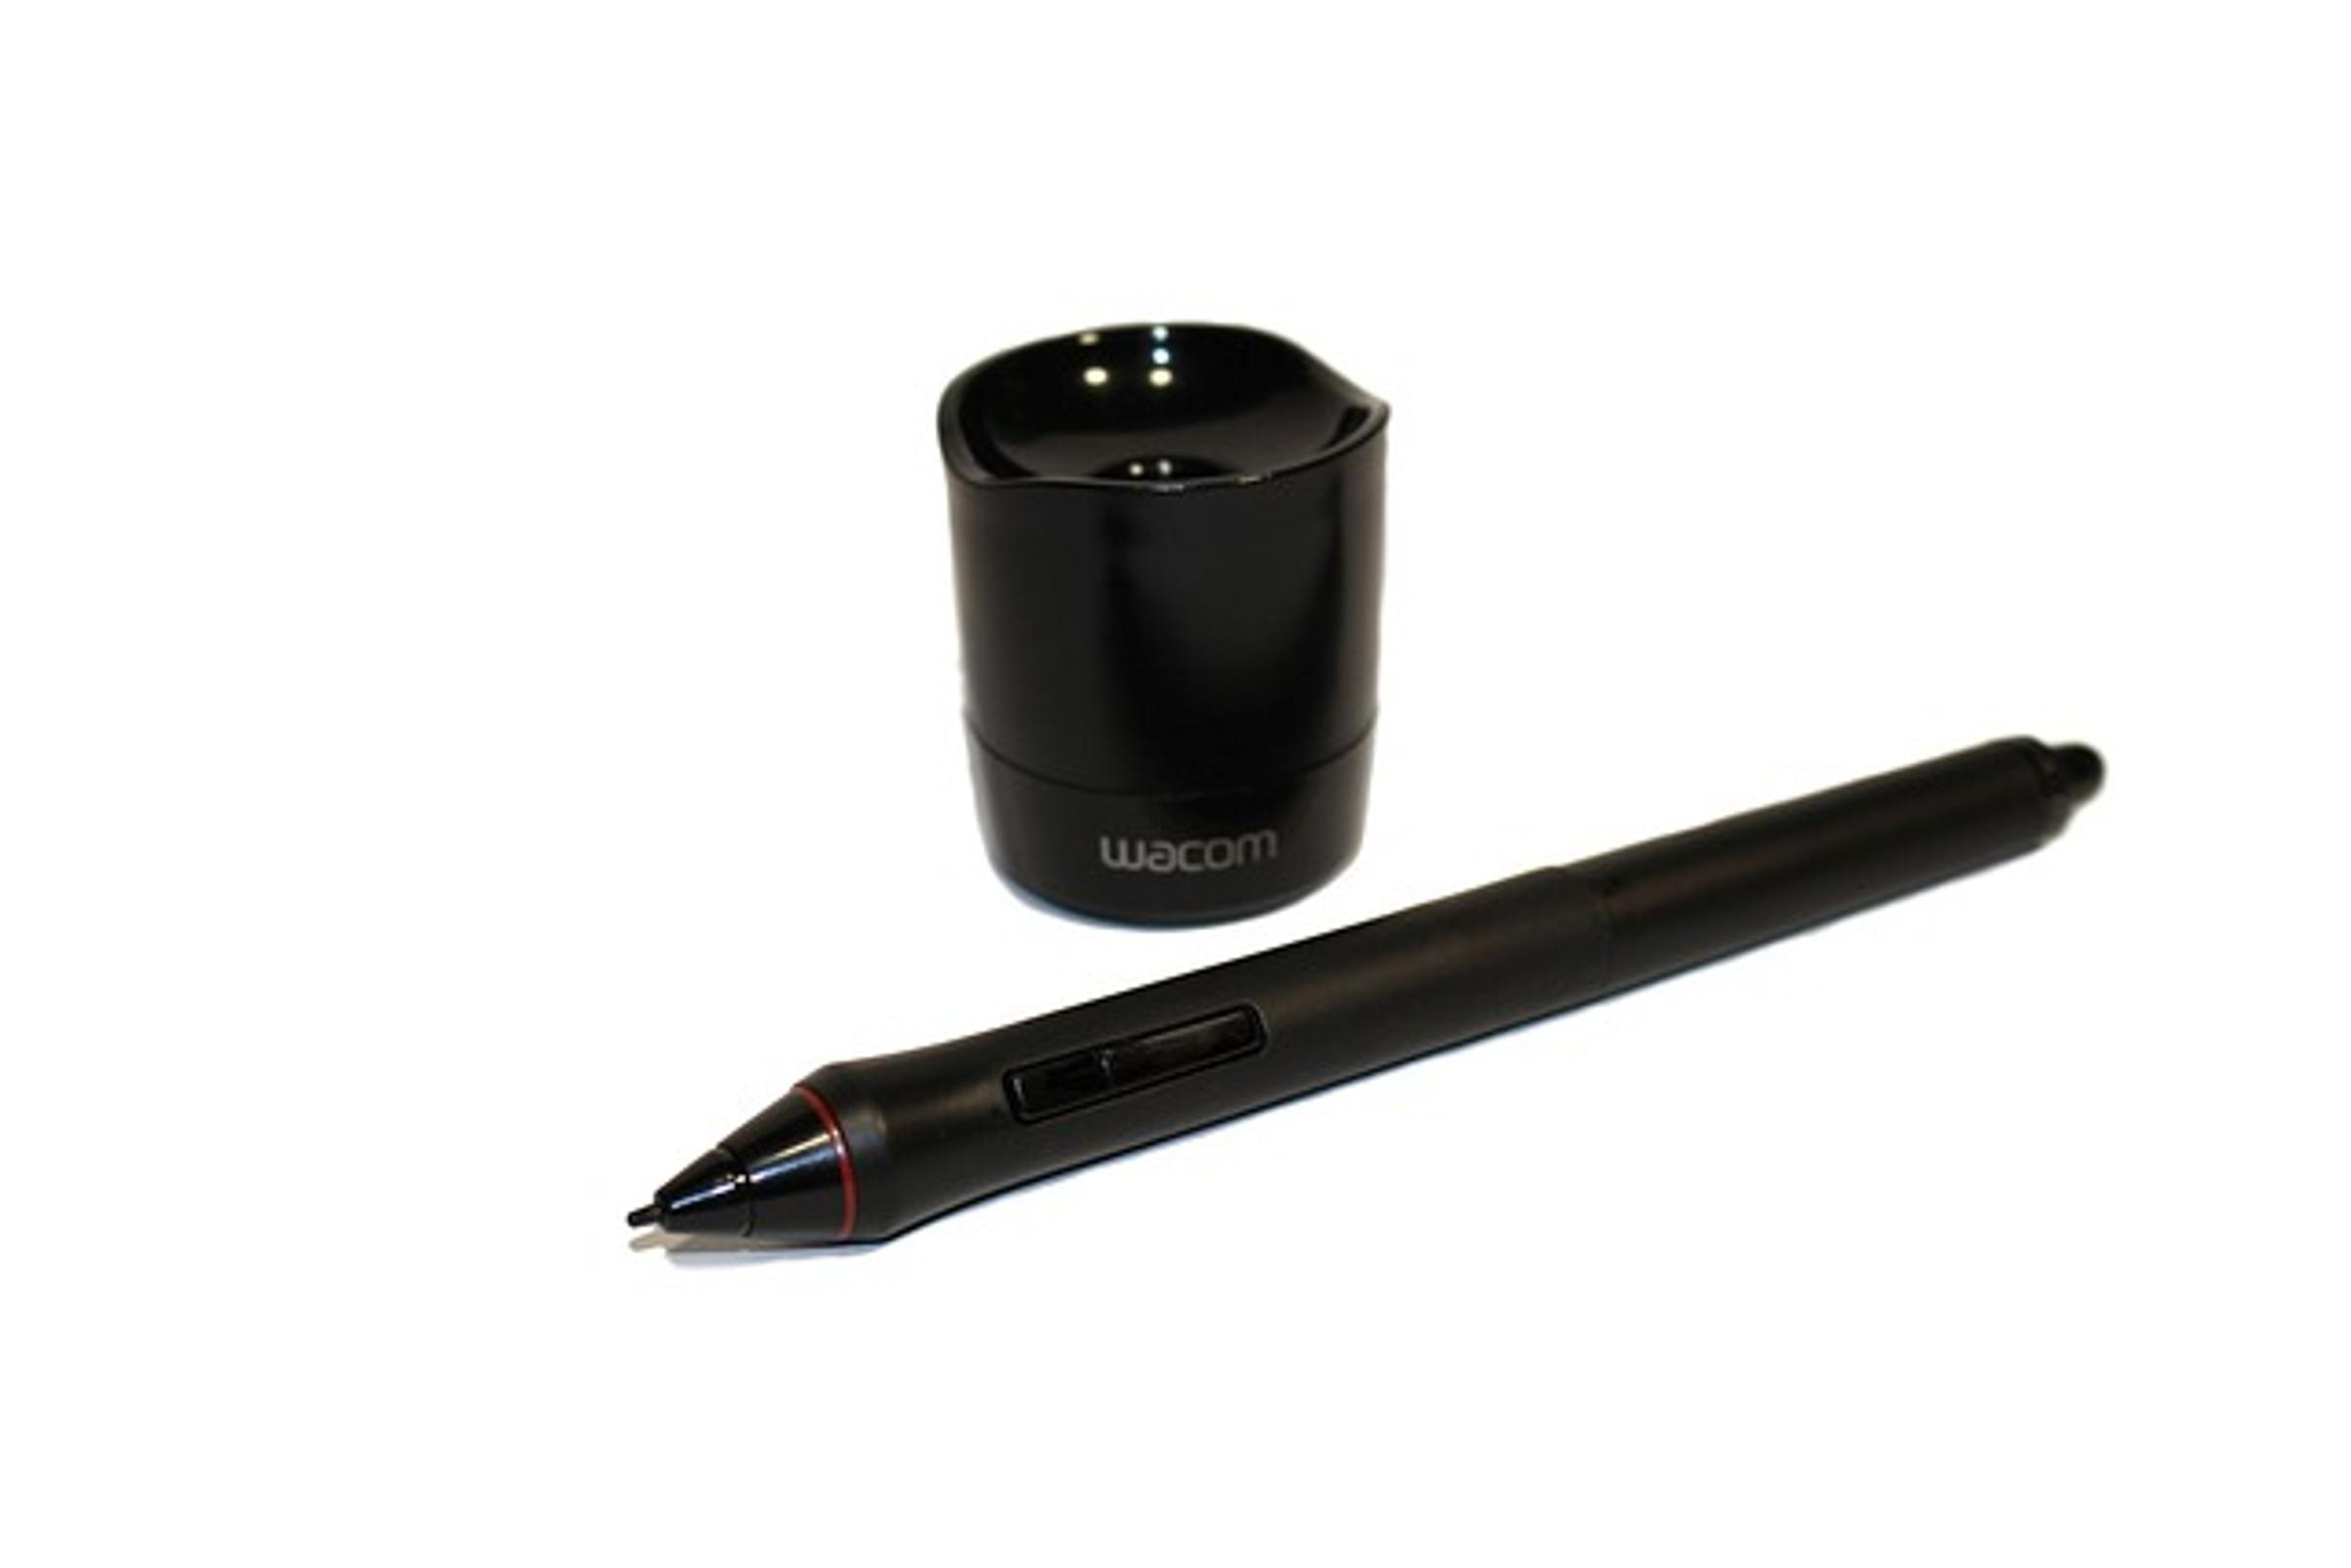
How Do You Change the Nib on a Wacom Pen?
Introduction
Having a Wacom pen is a game-changer for digital artists, designers, and professionals. It enables precise input, making tasks like drawing, editing, and designing far more intuitive. But just like any tool, regular maintenance is vital for optimal performance. One such maintenance task is changing the nib on your Wacom pen. Don’t worry; it’s simpler than you might think. In this guide, we'll explore why it's important, the tools you'll need, and provide a step-by-step process to make the change effortlessly.

Why You Might Need to Change the Nib on Your Wacom Pen
You might wonder why replacing the nib on your Wacom pen is necessary. The nib, the small tip of the pen that interacts with your tablet, wears out over time. Constant usage leads to friction, and the nib's surface gradually deteriorates. When the nib gets too worn out, it can affect the pen's accuracy, making it harder to achieve the precise lines and details you're used to.
Moreover, using a worn-out nib can scratch or damage your tablet's surface. This not only affects the aesthetics of your tablet but can also lead to more severe hardware issues down the line. Thus, regular nib replacement isn't just about maintaining the pen's performance but also about preserving the overall integrity of your Wacom tablet.
Tools and Materials Needed for Nib Replacement
Before diving into the replacement process, gather the required tools and materials. Luckily, you don’t need much:
- Replacement Nibs: Wacom offers a variety of nibs, including standard, felt, and flex nibs. Choose one that suits your drawing style.
- Nib Removal Tool: This usually comes with your Wacom pen. It's a small ring or a pair of tweezers designed specifically for nib removal.
- Clean Cloth: To wipe down the pen and tablet, ensuring no debris interferes with the process.
Having all these items prepared will streamline your nib replacement, reducing any potential hassles and ensuring a smooth transition.
Step-by-Step Guide to Changing the Nib on a Wacom Pen
Changing the nib on your Wacom pen is straightforward. Follow these steps to make the process quick and easy:
- Check the Condition of Your Nib:
-
Inspect the current nib for signs of wear and tear, such as being shorter than a new nib or having a flat or rugged tip.
-
Turn Off the Tablet:
-
To avoid any accidental input during the process, it's advisable to turn off your tablet.
-
Prepare Your Tools and Workspace:
-
Ensure you have a clean, flat surface to work on. Gather your replacement nibs and the nib removal tool.
-
Remove the Existing Nib:
-
Take the nib removal tool and slide it onto the nib. Pinch the tool to grip the nib and pull it straight out from the pen. Be gentle to avoid damaging the pen.
-
Insert the New Nib:
-
Take a new nib from your set of replacement nibs. Hold it gently and insert it into the pen's cavity. Push it in until you feel it click into place.
-
Test the Pen:
-
Once the new nib is in place, power your tablet back on. Test the pen on the tablet to ensure it works correctly. Check for responsiveness and accuracy.
-
Final Adjustments:
- If the pen feels off or doesn't perform as expected, ensure the nib is inserted properly. Sometimes, a slightly misaligned nib can cause issues.
Following these steps ensures that your Wacom pen continues to deliver the precision and performance expected from such a high-quality tool.

Aftercare Tips for Your Wacom Pen and Nib
Now that you've replaced the nib, it's essential to take proper care of your Wacom pen to prolong its lifespan and maintain its performance:
- Regular Cleaning: Wipe down your pen and tablet with a soft, clean cloth regularly to prevent dust and debris buildup.
- Proper Storage: Store your pen properly when not in use. Use the pen holder or store it flat to avoid damaging the nib.
- Routine Inspection: Check the nib periodically for signs of wear and replace it before it can affect your work.
With these simple aftercare tips, you can ensure your Wacom pen and nibs remain in top-notch condition.

Conclusion
Replacing the nib on your Wacom pen is a simple yet crucial task that enhances your digital art experience. By understanding why it's necessary, gathering the right tools, and following a step-by-step guide, you can easily perform this maintenance task. Don't forget to take care of your pen and nibs regularly to maximize their lifespan and performance. Keep creating with precision and ease, knowing your tools are in optimal condition.
Frequently Asked Questions
How often should I change the nib on my Wacom pen?
It depends on your usage. Heavy users may need to replace their nibs every few months, while casual users might only need to do so once a year. Check your nib regularly for signs of wear.
What types of nibs are available for Wacom pens?
Wacom offers several types of nibs, including standard nibs, felt nibs, flex nibs, and even specialized nibs for different drawing styles. Choose one that best suits your needs.
Can I use a Wacom pen without a nib?
No, the nib is an essential part of the Wacom pen, providing the contact point with your tablet. Using the pen without a nib will not only render it ineffective but might also damage the tablet surface.


