How to Set Up Your TruVista Modem: A Comprehensive Step-by-Step Guide

Introduction

Setting up your TruVista modem might seem daunting initially, but it's quite straightforward once you break it into manageable steps. This guide aims to assist you every step of the way, from unboxing to troubleshooting common issues. Whether you're a tech novice or someone with more experience, this guide ensures that you can set up your modem efficiently and without frustration. Let's dive into the process and get you connected to the internet smoothly and quickly.

truvista modem setup

Understanding Your TruVista Modem

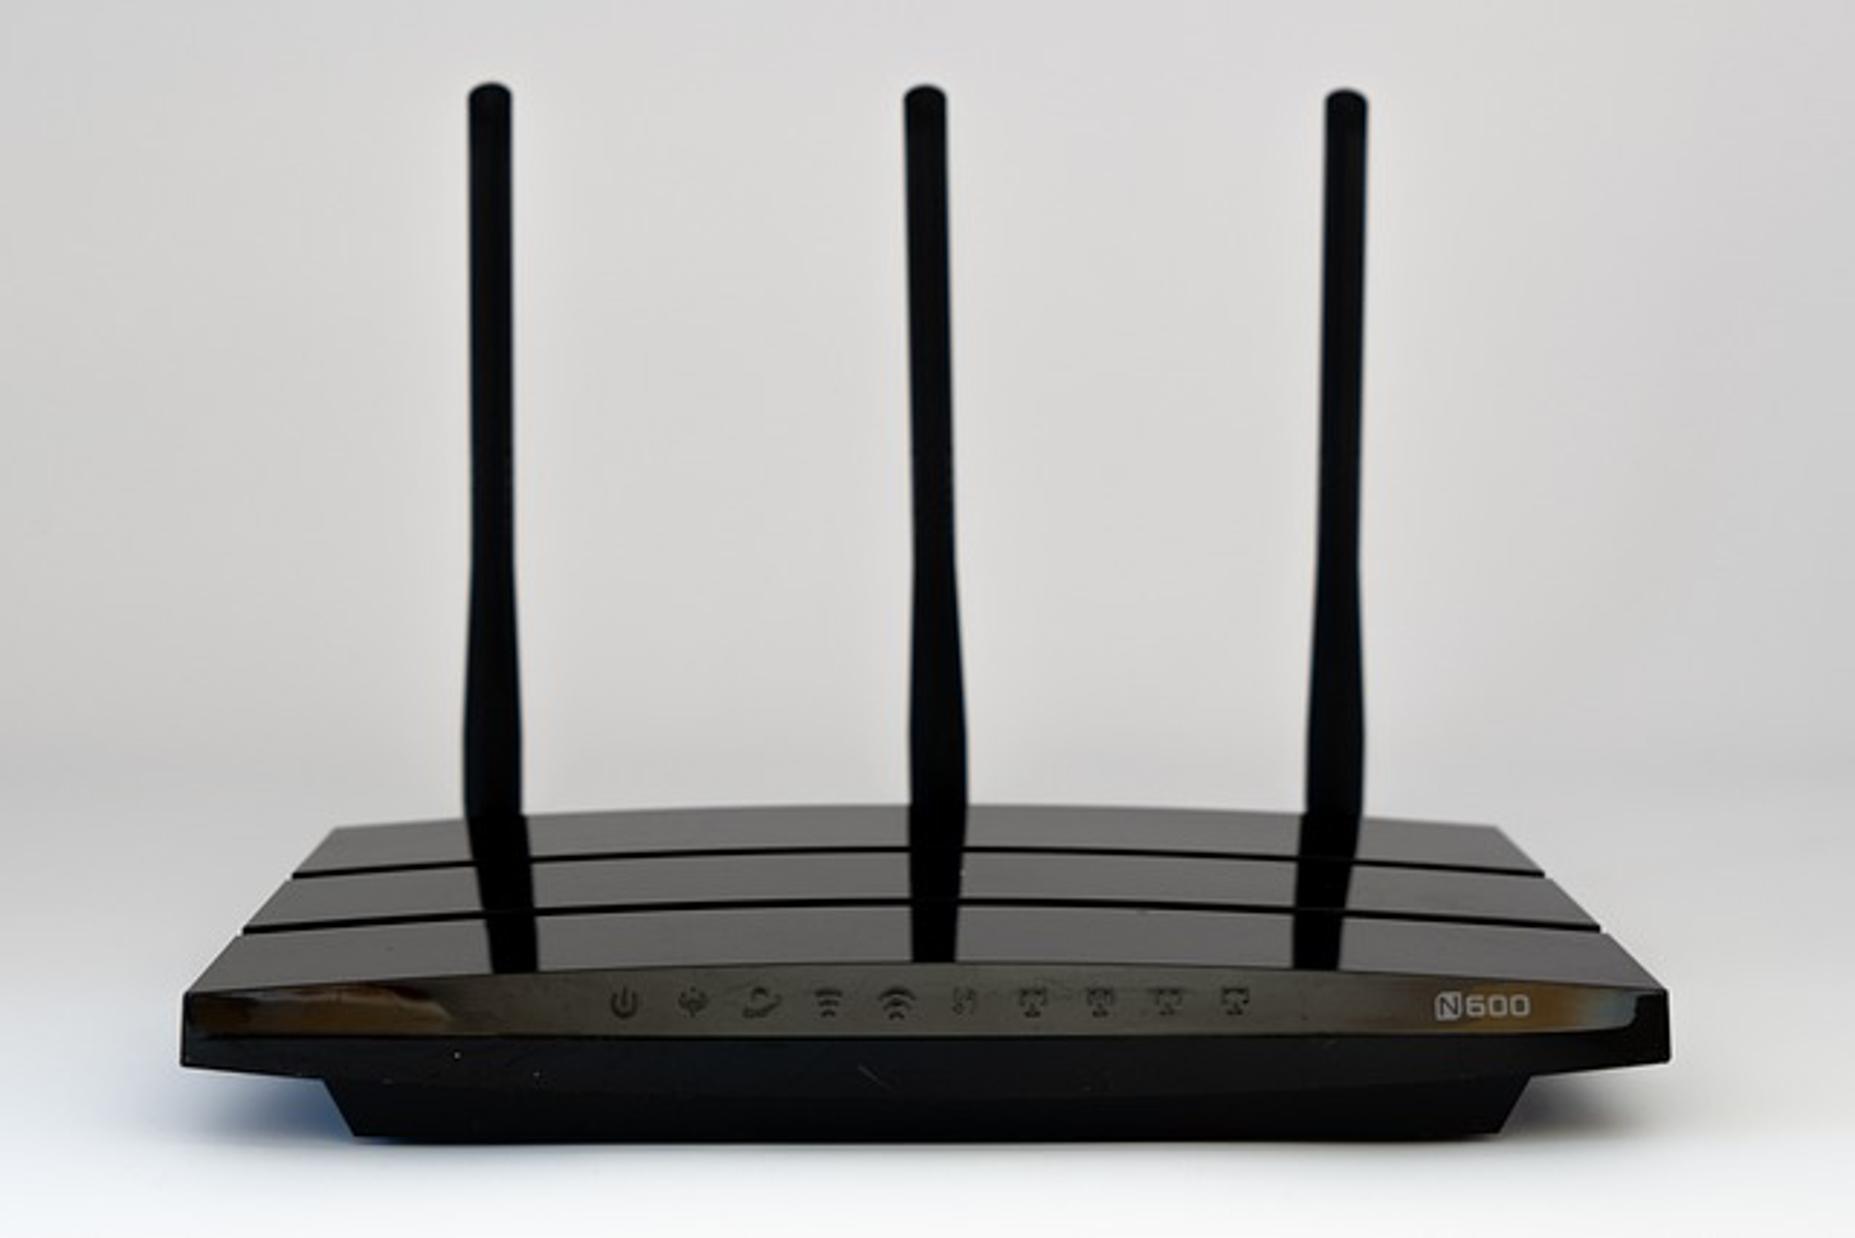
Before jumping into the setup, it's essential to understand what your TruVista modem does and why it matters. A modem is a device that connects your home network to your internet service provider (ISP). The TruVista modem is equipped with features that ensure stable and fast internet connectivity. It translates digital data from your ISP into a format that your devices can use. By understanding your modem’s basic functions, you can appreciate each step in the setup process and troubleshoot more effectively.

Unboxing Your TruVista Modem

Start by carefully unboxing your TruVista modem. Inside the box, you should find:

  1. The TruVista modem.
  2. A power adapter.
  3. An Ethernet cable.
  4. A coaxial cable (if needed for your type of connection).
  5. A Quick Start Guide.

Ensure that all these components are present. Missing items can hinder the setup process, so it's crucial to verify everything before proceeding.

Connecting the Hardware

Now that you have unboxed your TruVista modem, it's time to connect the hardware:

  1. Find a Suitable Location: Place the modem in a central location to ensure the best Wi-Fi coverage.
  2. Power Connection: Plug the power adapter into the modem and then into an electrical outlet.
  3. Coaxial Cable: If required, connect the coaxial cable to the modem and the wall outlet. Ensure it is securely tightened.
  4. Ethernet Cable: Connect one end of the Ethernet cable to the modem and the other end to your computer or router for initial configuration.

Once all cables are connected, power on your modem. Wait a few minutes for the device to fully power up and establish connections, indicated by the lights on the modem becoming stable.

Configuring the Modem

After connecting the hardware, the next step is configuring your TruVista modem:

  1. Access the Modem Interface: Open a web browser on the connected computer and type in the default IP address, usually found in the Quick Start Guide or on the modem itself.
  2. Login Credentials: Enter the default username and password. This information is typically 'admin' for both fields but should be confirmed from the guide.
  3. Initial Setup Wizard: Follow the on-screen instructions provided by the setup wizard. Change default settings like the Wi-Fi network name (SSID) and password for added security.
  4. Save Configuration: Ensure you save all changes made in the modem’s interface.

Configuration customizes your modem settings for security and performance, making your network unique and protected.

Setting Up Internet Connection

With the modem configured, the next step is establishing your internet connection:

  1. ISP Activation: Some ISPs, including TruVista, require activation. Follow the activation steps provided by the ISP, which might include visiting a specific activation page or calling customer service.
  2. Test Connection: Once the modem is activated, test your internet connection by opening a web page. Successful loading signifies a correct setup.
  3. Connect Devices: Now, connect your devices (computers, phones, tablets) to the newly configured Wi-Fi network using the SSID and password you set.

Testing ensures the setup was successful and the devices can access the internet properly.

Troubleshooting Common Issues

Sometimes, things don’t go as planned even with careful setup. Here are common issues and solutions:

  1. No Internet Connection: Verify all cables are connected securely. Restart the modem and check if the issue is resolved. Confirm that TruVista has no service outages by contacting customer support.
  2. Slow Internet: Check if other devices on the network are using excessive bandwidth. Run a speed test to gauge your internet speed and compare it to your subscribed plan.
  3. Intermittent Connection: Ensure your modem is placed in an area free from obstructions and electronic interference, which can weaken the signal.

Effective troubleshooting can quickly resolve most issues without needing professional assistance.

Advanced Settings

For users seeking more control over their network, explore the advanced settings available in your TruVista modem:

  1. Port Forwarding: Enable port forwarding for specific applications and services that require a direct connection.
  2. Quality of Service (QoS): Prioritize bandwidth for critical applications like video conferencing or gaming.
  3. Parental Controls: Set access restrictions to manage internet usage for different devices.

These settings offer a tailored network experience, optimizing performance according to your needs.

Conclusion

Setting up a TruVista modem does not have to be challenging. By following this comprehensive guide, you can ensure a smooth and efficient installation process, from connecting hardware to configuring settings and troubleshooting issues.

Frequently Asked Questions

What should I do if my TruVista modem doesn't connect to the internet?

First, ensure all cables are securely connected. Restart your modem. If the issue persists, contact TruVista customer service to check for service outages or further assistance.

How can I improve the Wi-Fi signal of my TruVista modem?

Place your modem in a central location, free from obstructions. Reducing interference from other electronic devices and using Wi-Fi extenders can also help improve the signal strength.

Is it necessary to update the firmware on my TruVista modem regularly?

Yes, updating the firmware ensures you have the latest features and security patches. Check for updates in the modem’s web interface periodically and follow the instructions to install them securely.